notion image
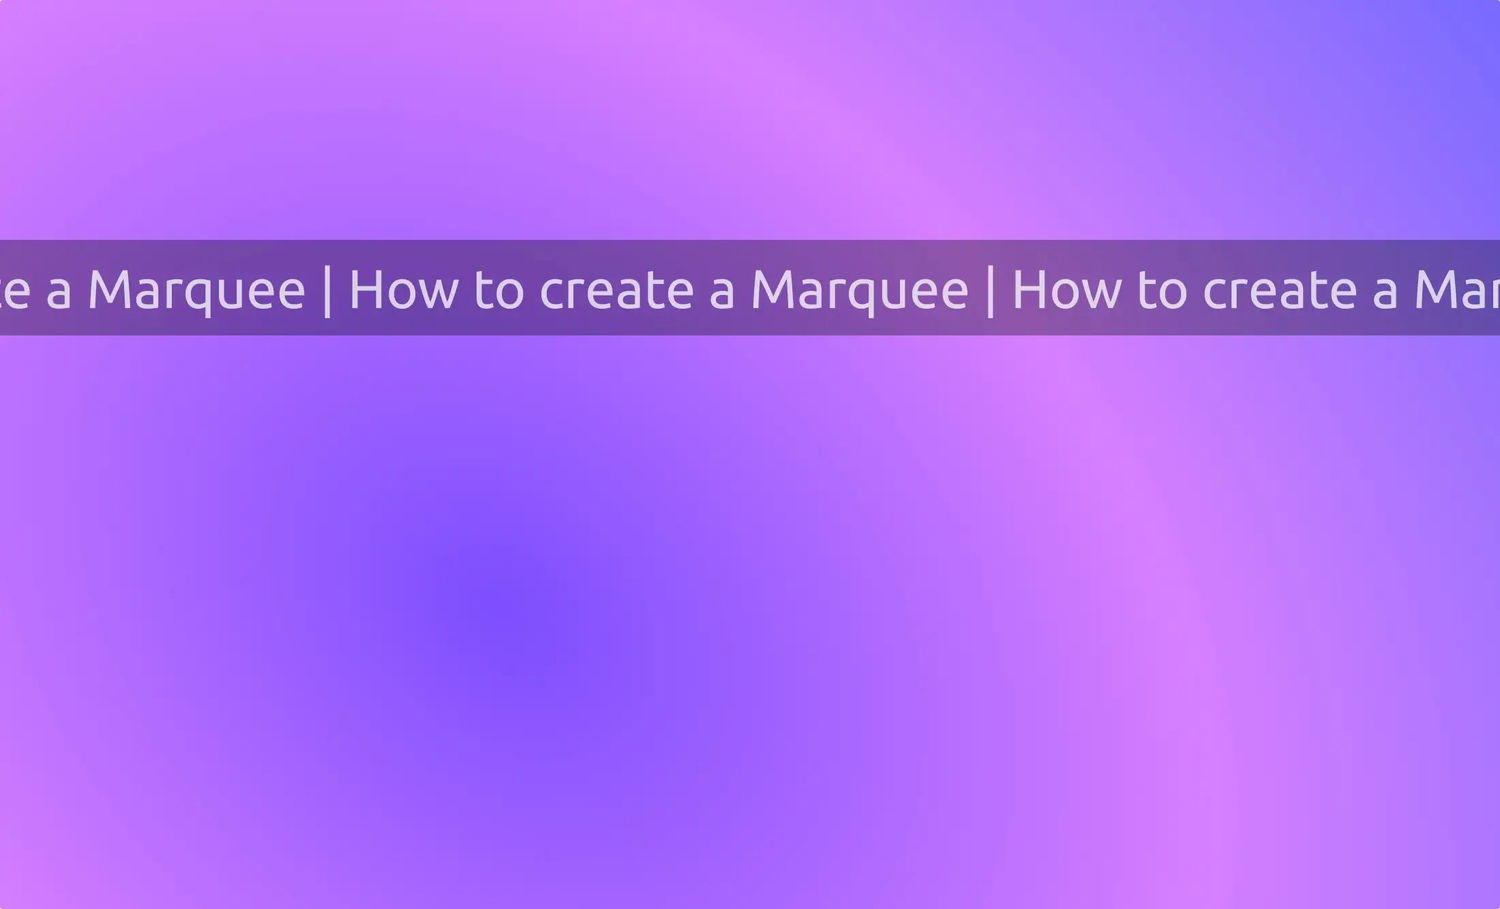
How to create a Marquee in Webflow
To follow this tutorial, you must have a Webflow plan that allows you to add embedded code.
This Webflow tutorial is divided into three main parts:
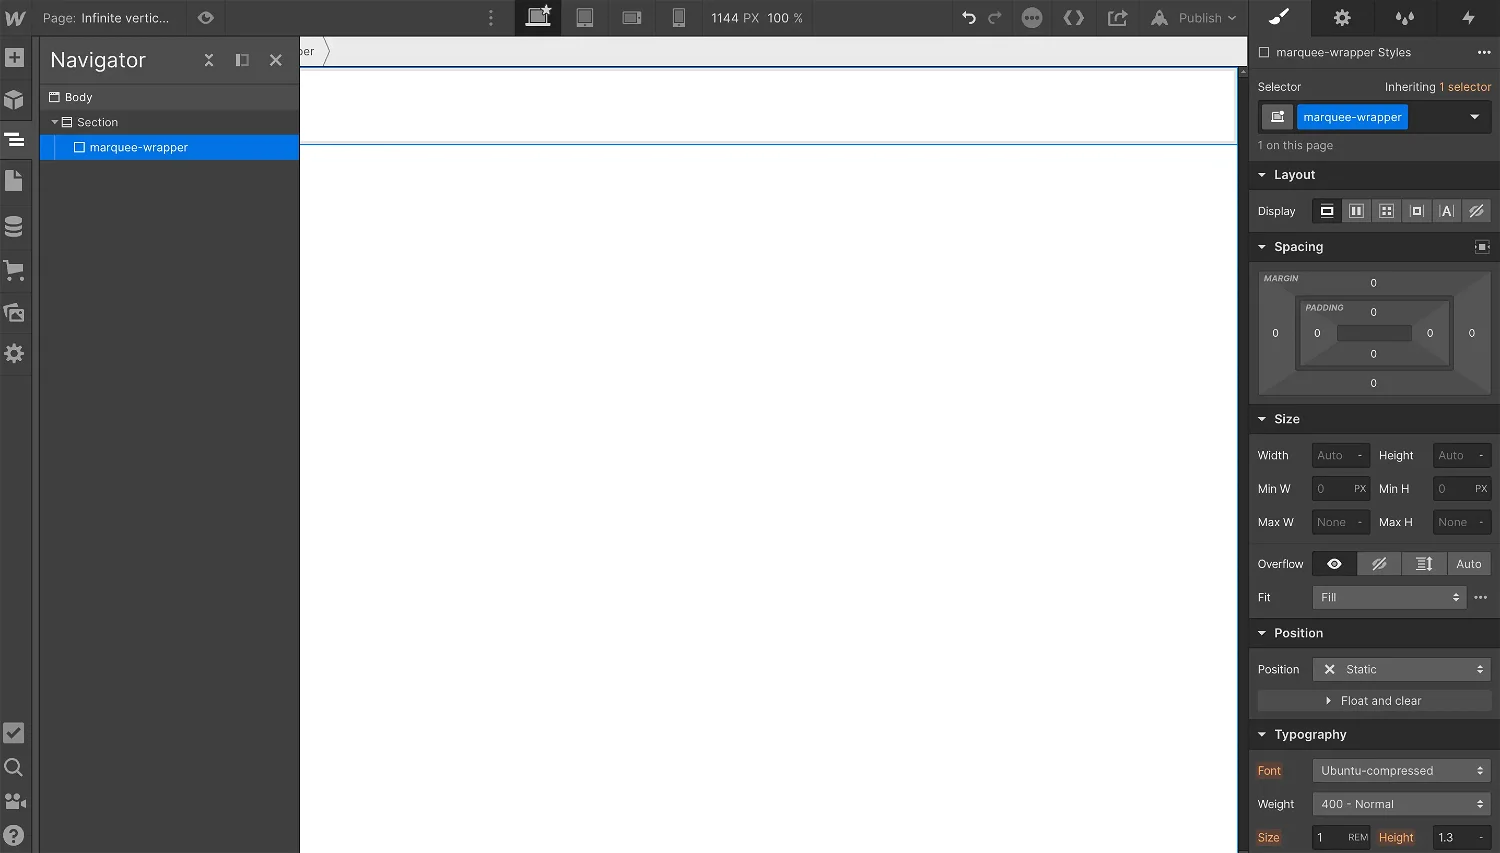
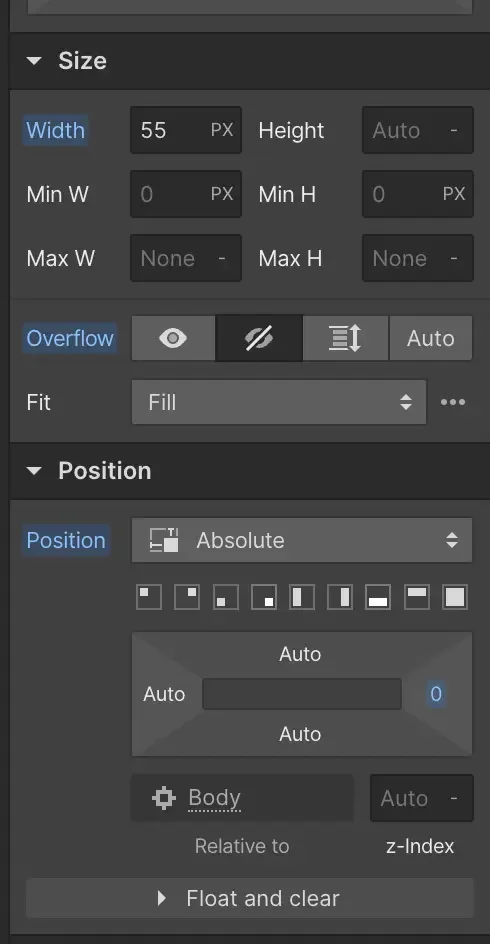
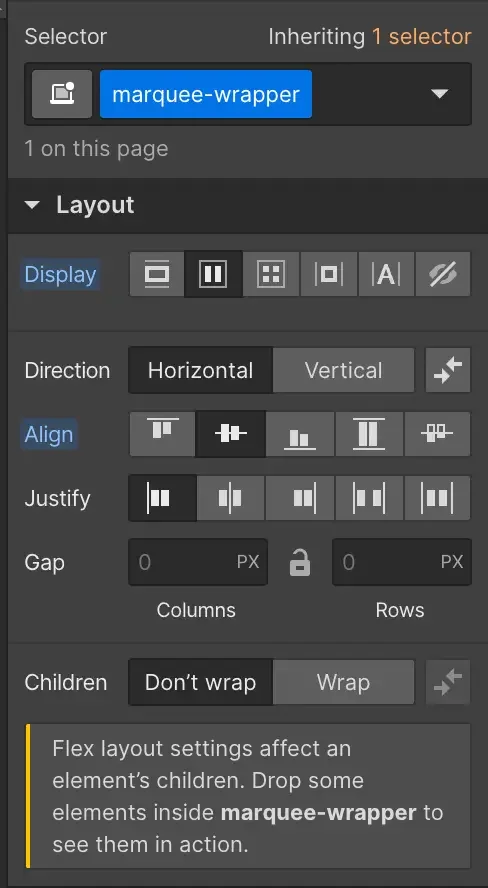
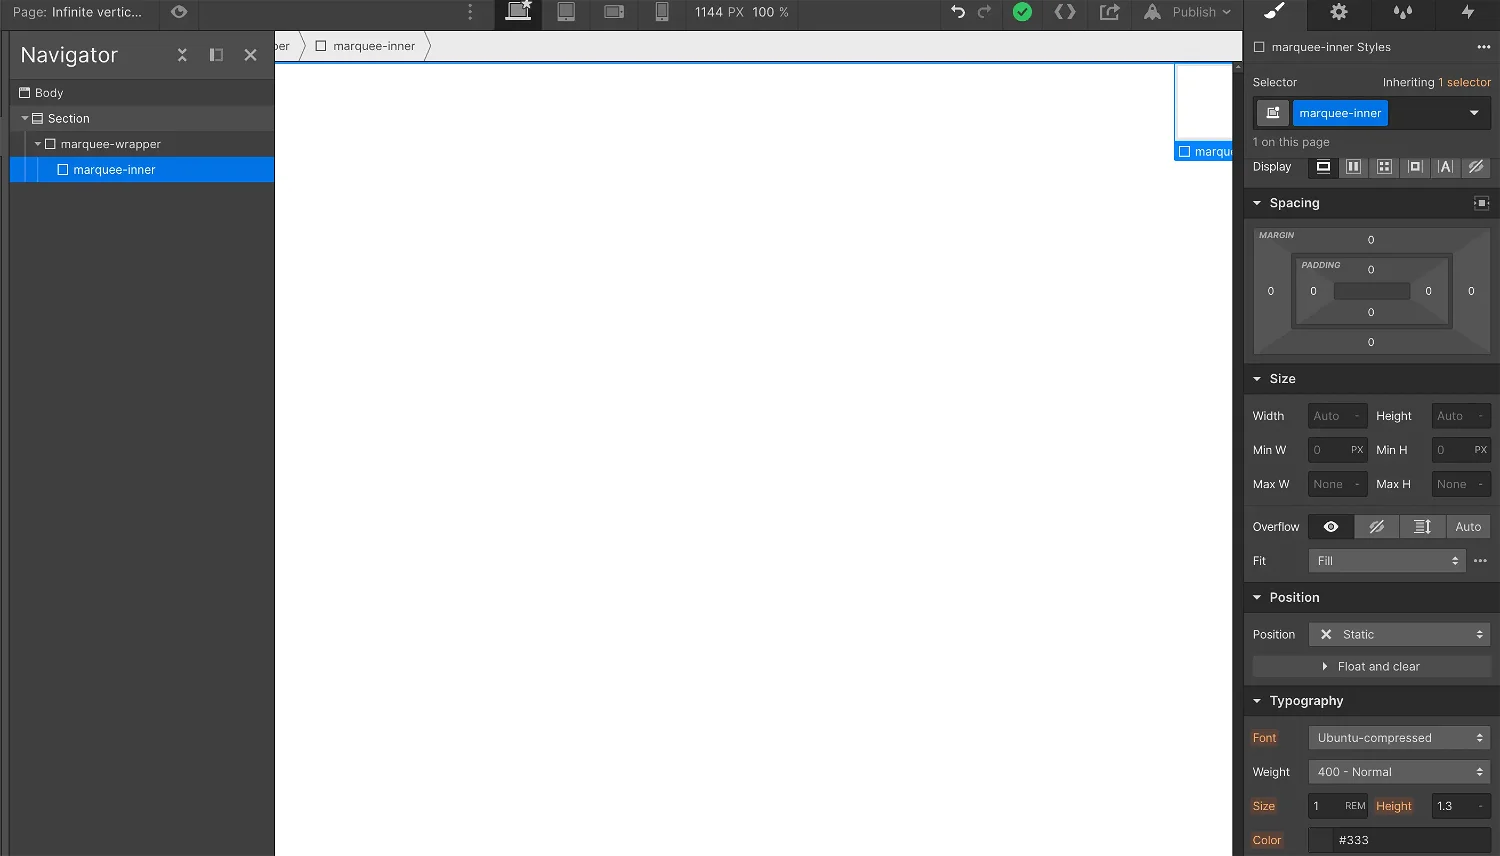
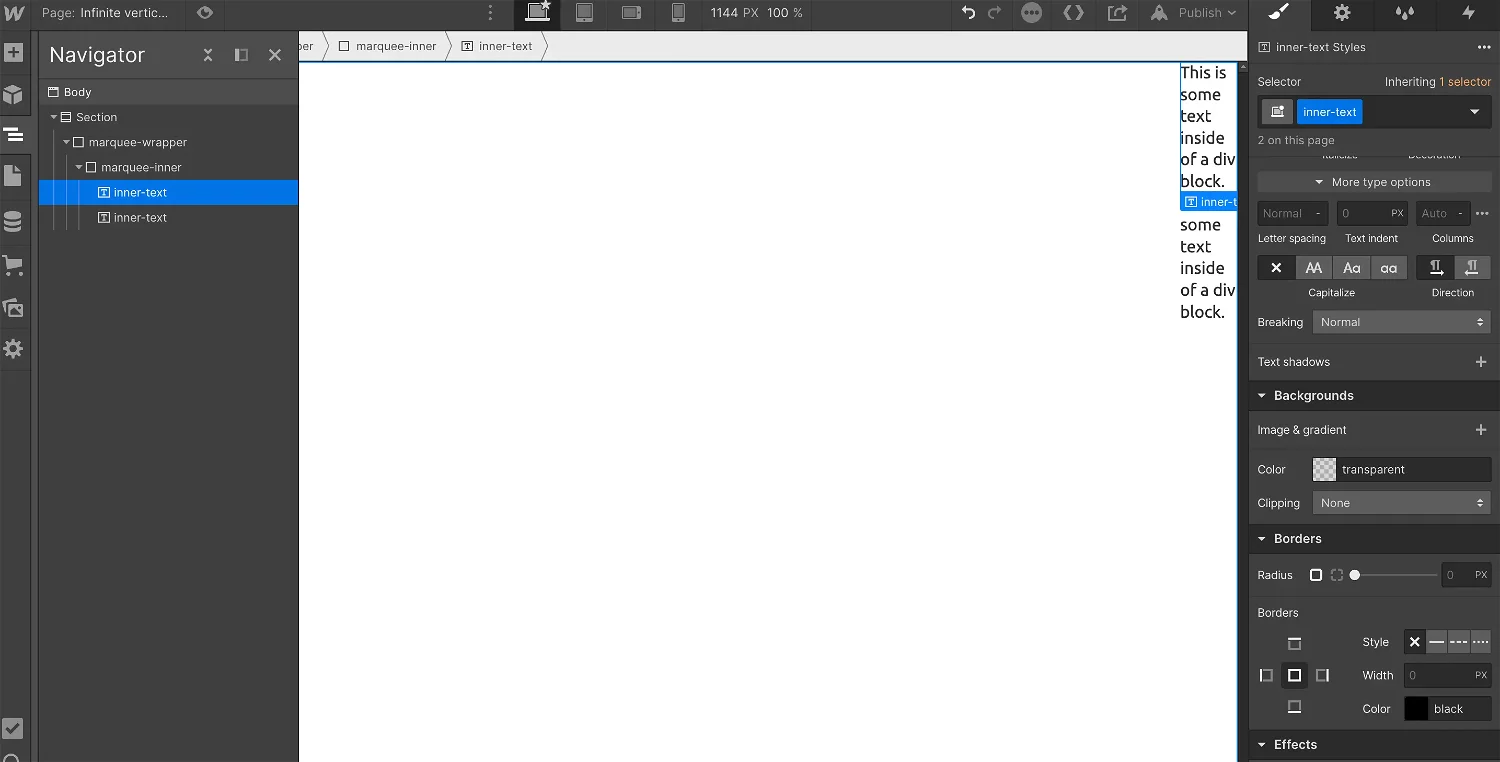
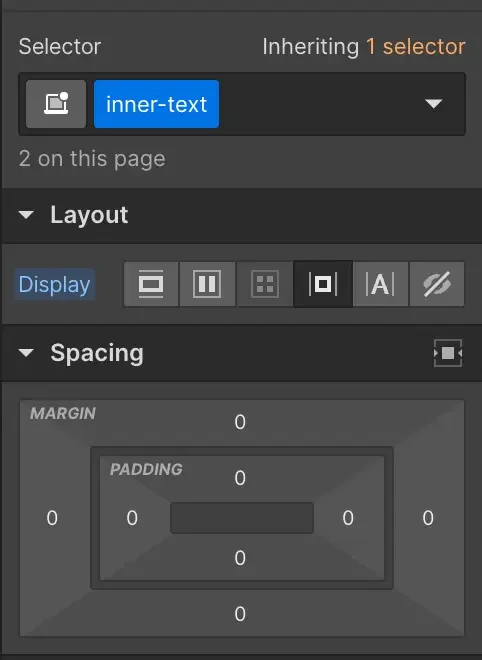
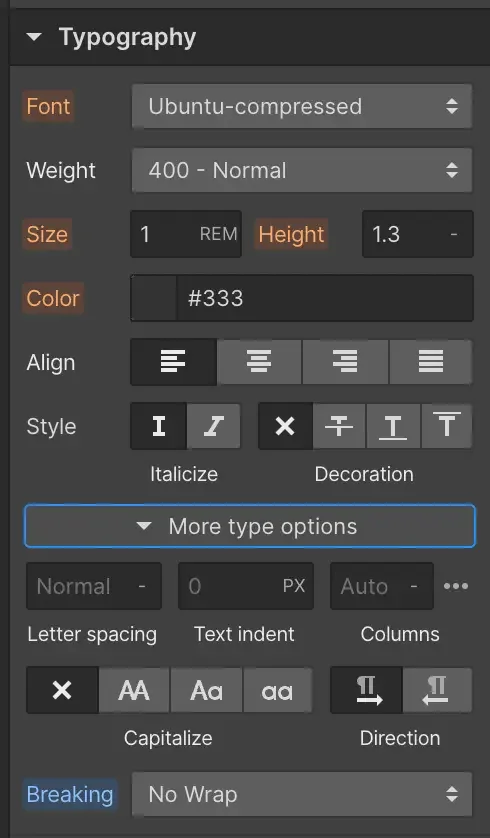
  • Creating the vertical text component
  • Adding the embedded code
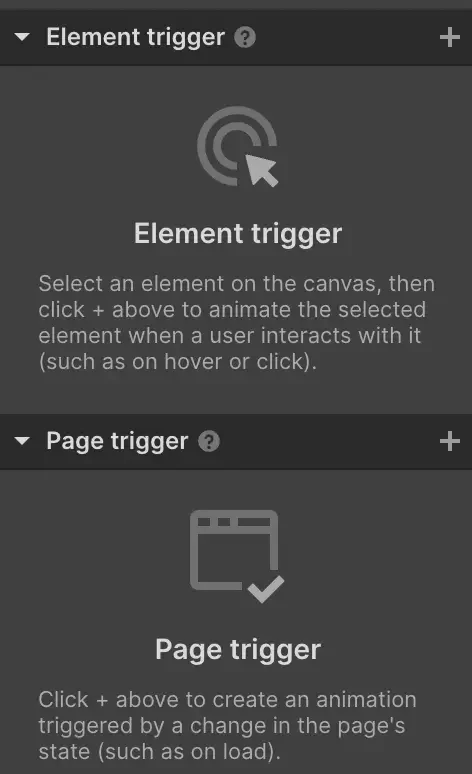
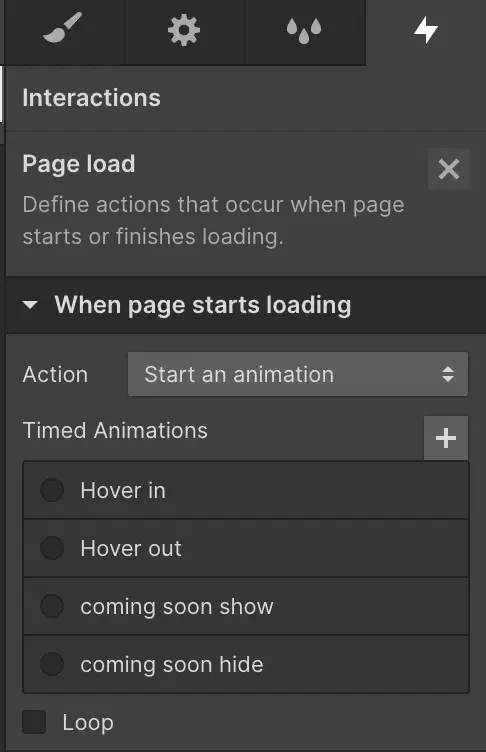
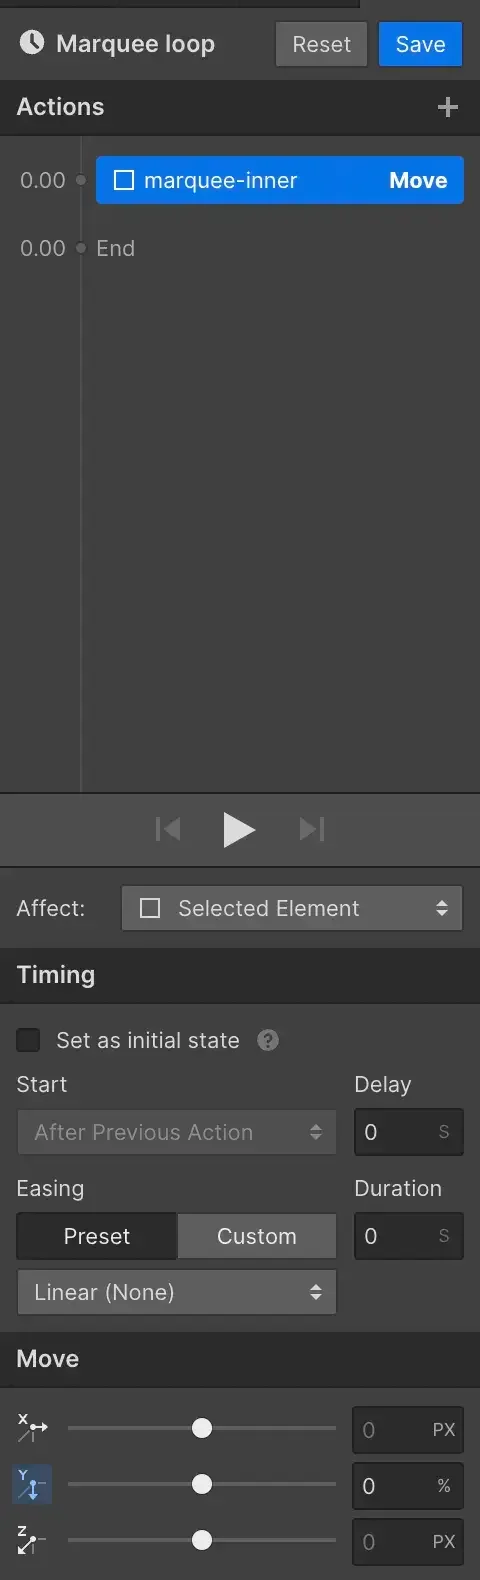
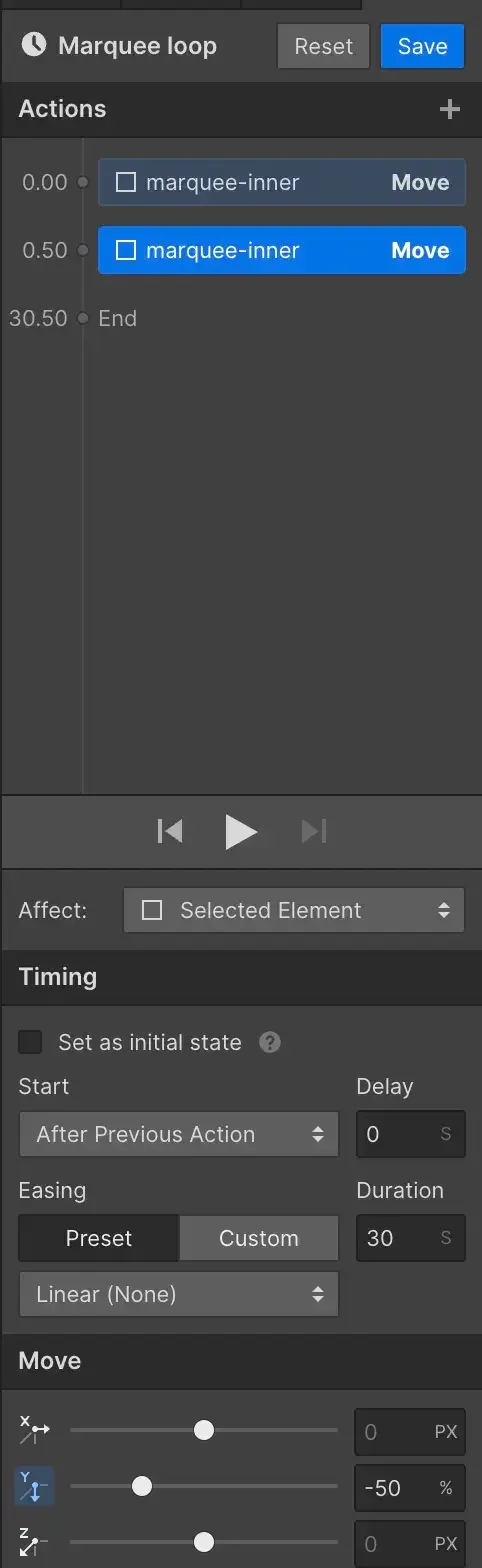
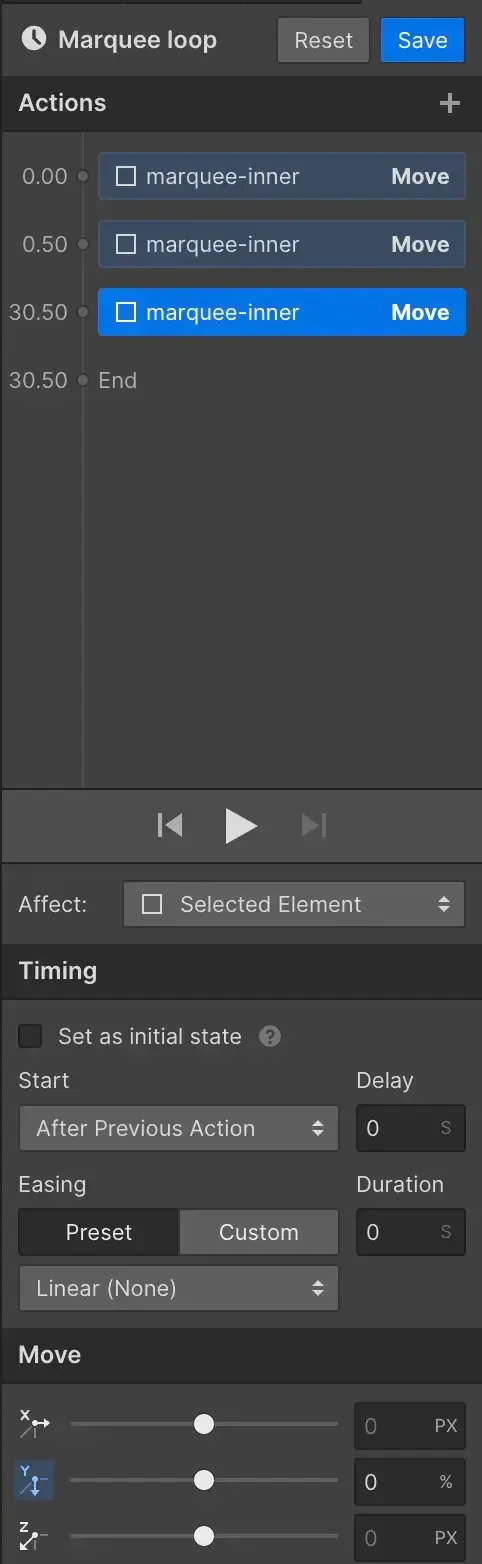
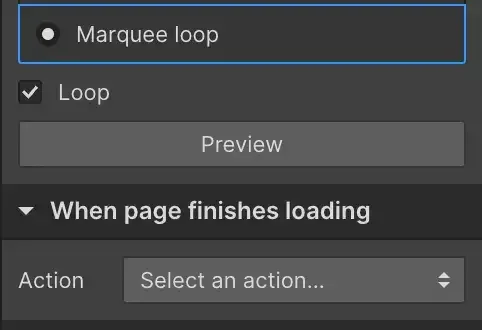
  • Creating an interaction for an infinite looping effect.
Alright, let’s get started!

Creating the infinite scroll component or 'Marquee' in Webflow.

First, we will create the actual component that contains the infinite text. Let’s go through this step by step. I will assume that you are starting from a blank page in Webflow.
  1. Create a section; give this section a height of 100vh. Place an empty div block inside it. Give this div block the class name ‘marquee-wrapper.' (My section will not contain any other content. However, I assume that yours will be filled with other content; it is irrelevant to the functioning of the marquee).
notion image
  • Give the ‘marquee-wrapper' div block a position of absolute with right: 0.
  • Set the overflow to hidden.
  • Give it a width of 55px (You can give it any width, for this case, 55px is a good width).
  • Give it a height of 100%.
  • Set the display to ‘flex’ and align items 'center’
notion image
notion image
  1. Add another Div block inside the ‘marquee-wrapper' Div block. Give this div the class 'marquee-inner’.
notion image
  1. Add two text blocks inside the ‘marquee-inner' div block. Give both text blocks the class name 'inner-text’
notion image
Set the display property for the ‘inner-text' div block to inline-block.
  • Set the font Breaking to No wrap (to find this option. click 'more type options’ in the Typography styling section.)
notion image
notion image

Add the embedded code to the page in Webflow.

Add an HTML embed to the section. Copy the following code and add it to the HTML embed.
We are giving the marquee-wrapper a writing mode of vertical-rl and a text orientation of sideways-right.
This will make the text display in a vertical direction. Once you click save & close, the text should be displayed in a vertical direction, just how we want it.

Create Webflow interaction for infinite scrolling.

Great! you’ve reached the final milestone. Here we will add some life to the text, giving it the ‘infinite scrolling effect. We will do this with the powerful interactions Webflow allows us to create.
  1. Click on the 'marquee-wrapper'. In the interactions panel, click the plus icon next to the page trigger.
notion image
  1. Select ‘start an animation’ when the page starts loading.
notion image
  • Name this animation 'Marquee loop'.
  1. Select the 'marquee-inner' Div block. And click the plus icon. Select the move option, and type 0% for the Y axis. Set the duration to 0s.
notion image
  1. Add another move transformation to the 'marquee inner' Div block; this time, set the Y axis to -50%. Set the duration to 30 seconds. (You can change the duration. The shorter the duration is, the faster the text will move, and vice versa.)
notion image
  1. Add another move transformation to the 'marquee-inner' Div block. Set the y-axis to 0% and set the duration to 0s. This movement snaps the text back into the original position, so the duration must be set to 0.
notion image
  1. Finally, save the interaction, and check the 'loop' option, so that the interaction is running continuously.
notion image
And there we go! We hope you’ve learned some cool new things whilst following this tutorial. Keep following our blog page to learn new ways to customize your Webflow website.
badge